Day 30: Final Touches & Bringing It All Together

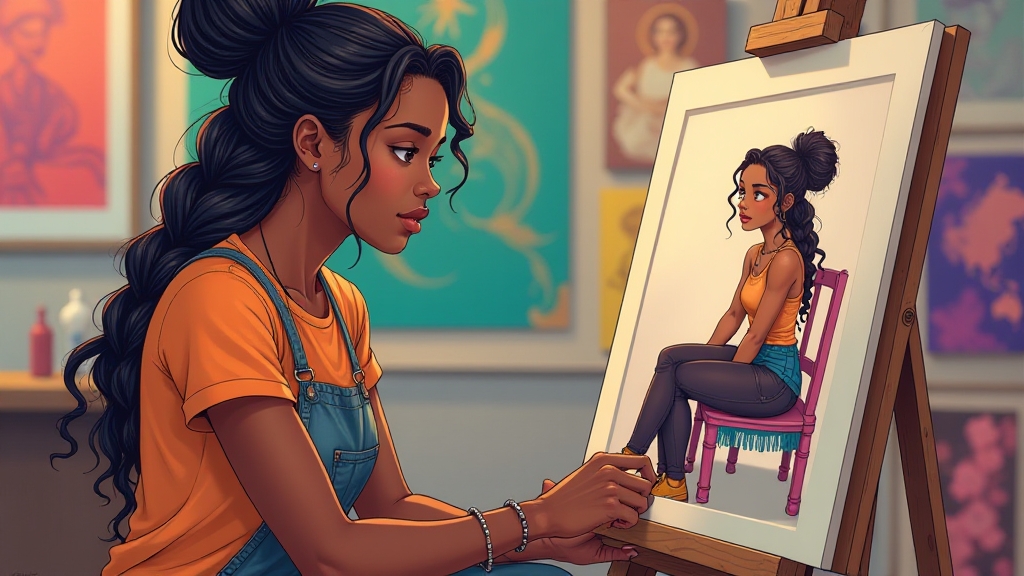
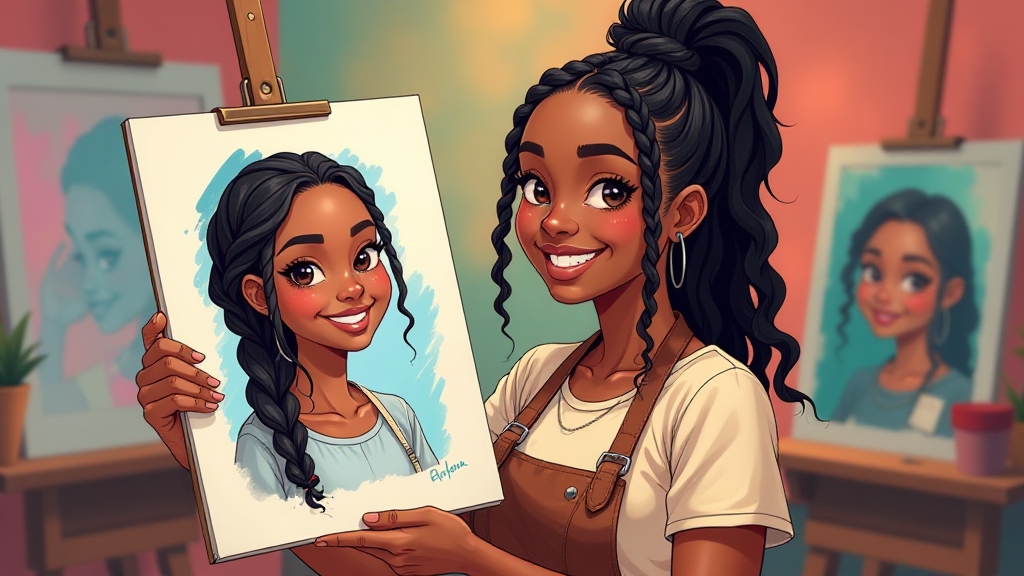
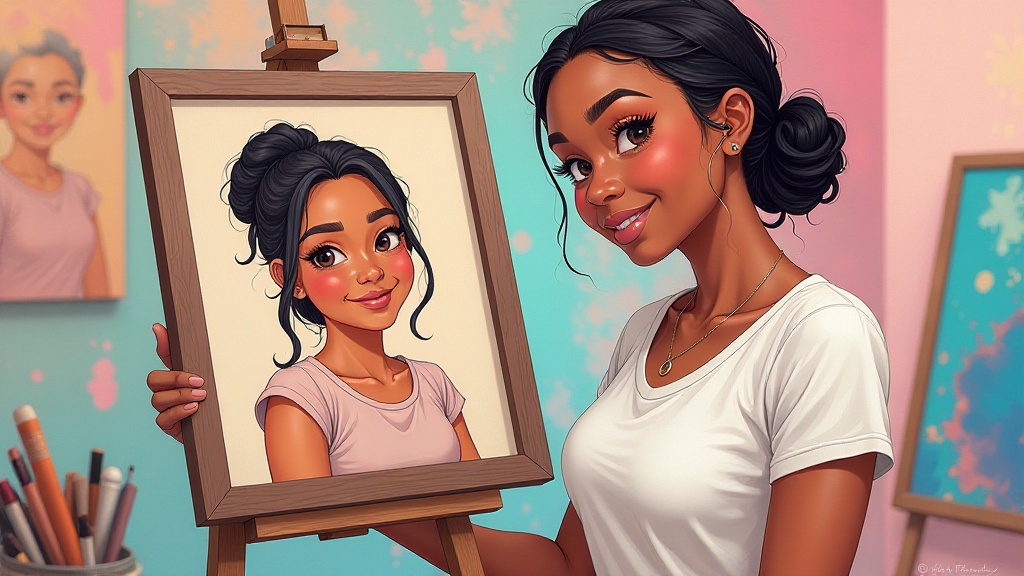
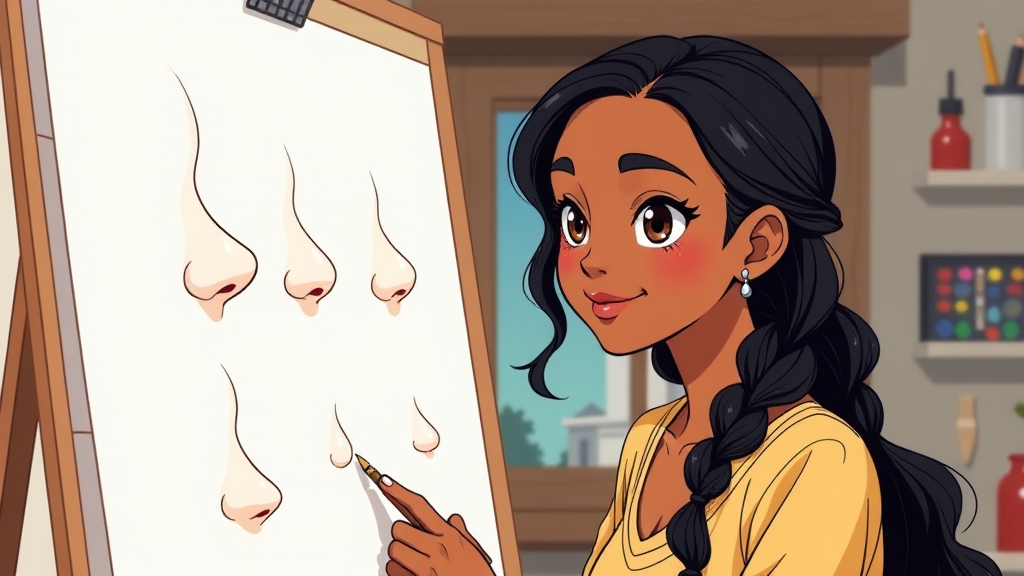
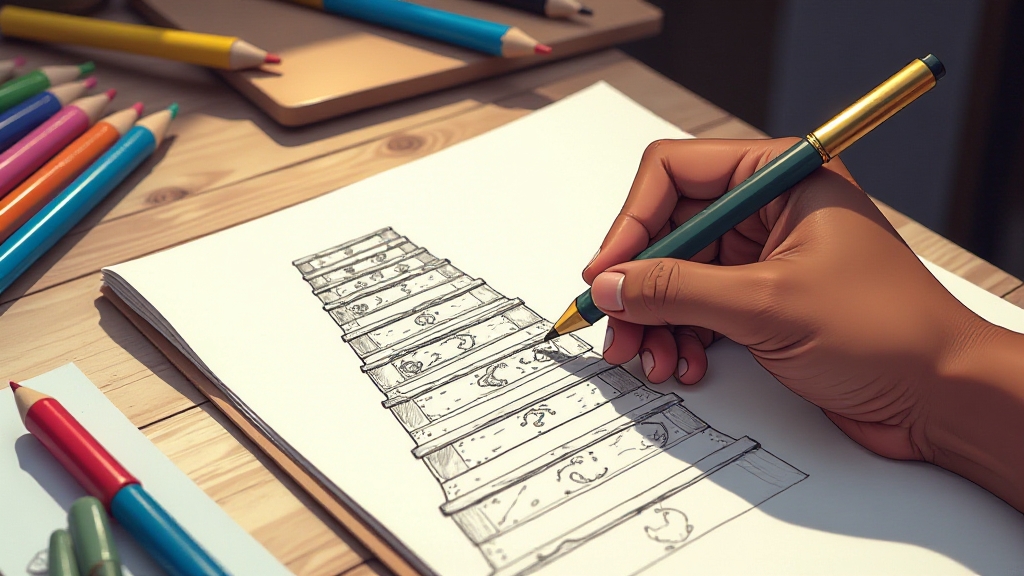
We did it, y’all! 30 days, 30 lessons, 30 chances to level up your drawing skills! 🏆 Today is about final adjustments, sharpening details, and adding that last bit of magic to your seated portrait.

Step 1: Step Back & Assess

Before touching that pencil, take a step back. Look at your drawing from a distance or flip it in a mirror. What stands out? What needs adjustment? This fresh perspective reveals imbalances you might not notice up close.

Step 2: Adjust Contrast & Values

  • Shadows too light? Deepen them to add more depth.
  • Highlights missing? Use an eraser or a white pencil to make areas pop.
  • Midtones blending too much? Refine them for clarity and balance.

The trick is pushing the values to make your drawing look dimensional and polished.

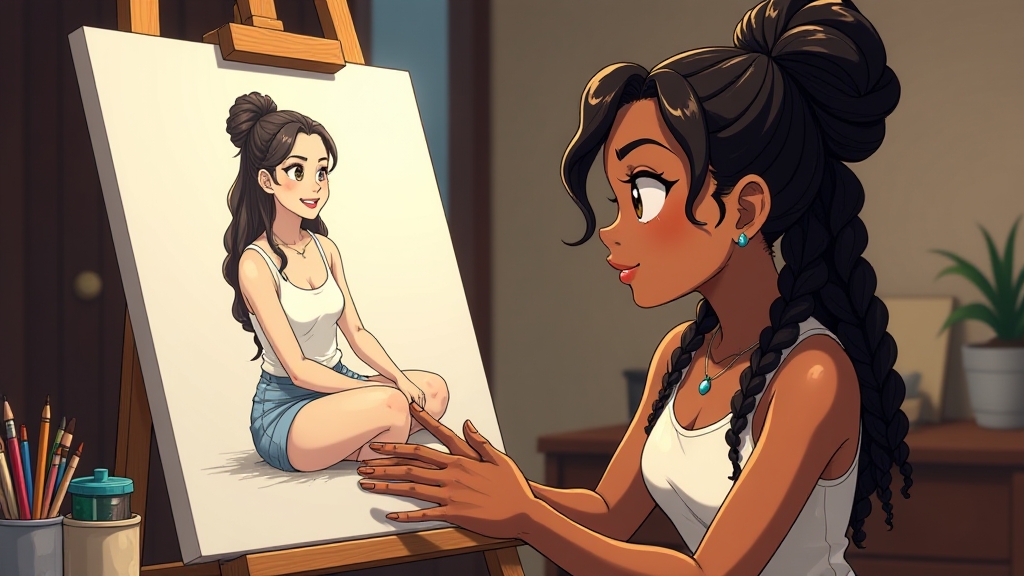
Step 3: Edges Matter!

Soft edges create a realistic, blended look, while sharp edges define important features. Use a mix of both to control focus and guide the viewer’s eye.

Step 4: Final Details & Texture

Now’s the time for small but powerful refinements:
✅ Stray hairs around the face? Add a few wispy strokes.
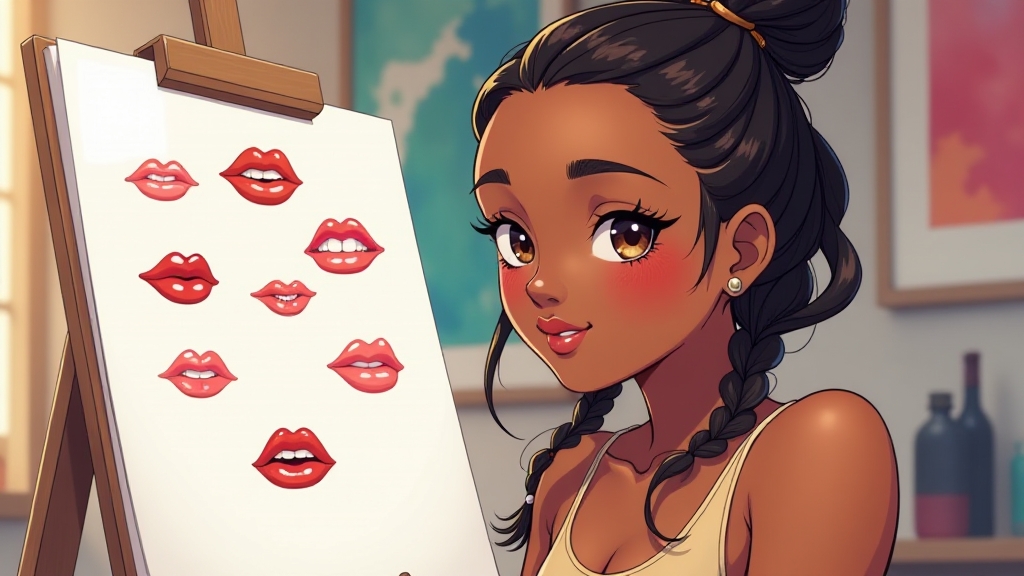
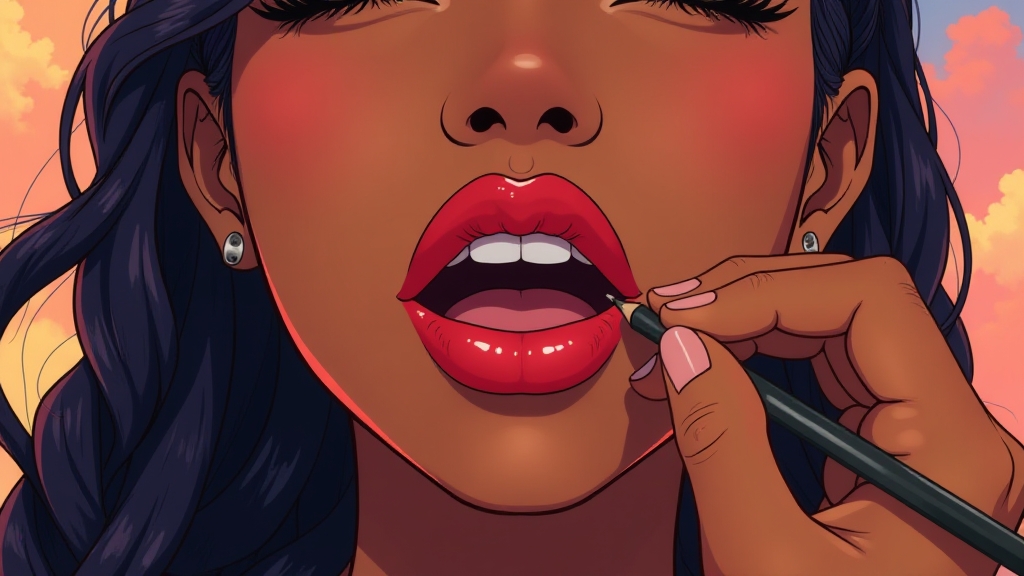
✅ Lips too flat? Add subtle highlights to make them feel fuller.
✅ Clothing too stiff? Introduce some natural folds and texture.

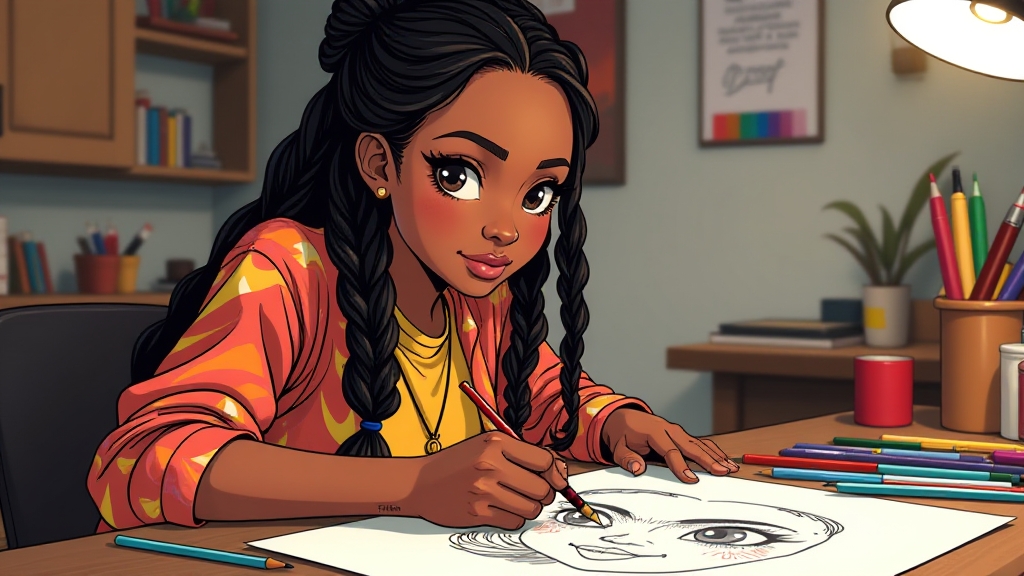
Step 5: Know When to Stop

One of the hardest parts of art is not overworking a piece. Step away, take a break, then come back with fresh eyes. If nothing urgent needs fixing, your portrait is done! 🎨✨

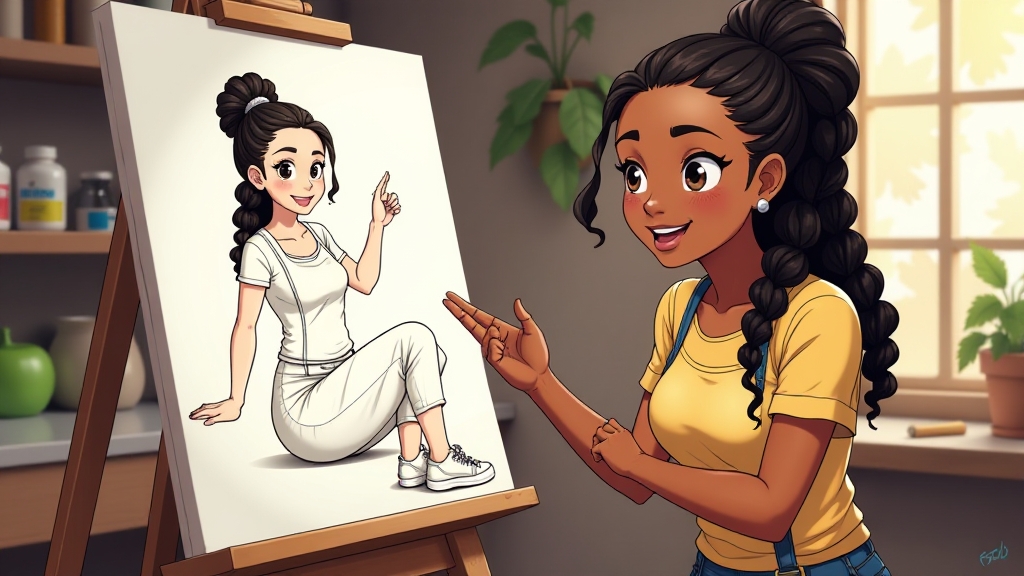
Your Final Challenge: Reflect & Share!

What’s been your biggest takeaway from this challenge? What skill have you improved the most? Drop a comment below!

🎨 Ready to keep growing? Join the Artist Hangout at TilaTheArtist.com!

#KickstartYourCreativity #DrawingChallenge #TilaTheArtist #LearnToDraw #FinalTouches #ArtGrowth

day 29: Refining Your Seated Portrait: The Magic is in the Details

We’ve made it to Day 29 of the Kickstart Your Creativity Challenge, and today, we’re taking our seated portraits to the next level! We’re talking fabric, texture, shadows, and those final touches that bring everything together. Whether you’re drawing yourself or a model, adding clothing and shading transforms your art from flat to full of life.

Step 1: Assess Your Portrait

Before diving into clothing, step back and look at the overall structure. Are the proportions correct? Is the pose natural? This is the perfect moment to make adjustments before committing to details.

Step 2: Sketching Clothing & Fabric

Fabric is dynamic! It reacts to gravity, body movement, and light. Keep these things in mind:
Where does the fabric fold? Around elbows, knees, and waist.
How does it stretch? Tight clothing will have fewer folds, while loose clothing drapes.
What’s the texture? Denim vs. silk—how does it behave?

Step 3: Adding Depth with Shadows & Light

To create realism, use contrast:

  • Darker areas where fabric folds or tucks in.
  • Lighter areas where fabric catches light.
  • Try cross-hatching or blending techniques for softer shadows.

Step 4: Refining the Face & Hair

Even the smallest adjustments to eye shape, nose placement, or hair texture can add personality to your drawing. Don’t be afraid to tweak!

Step 5: Background & Storytelling

Want to go the extra mile? Add a simple background—a chair, a window, or even a scene that tells a story.

Your Challenge: Share & Engage!

What was the trickiest part of your seated portrait? The pose? The shading? The folds? Drop a comment below!

🎨 Ready for the final challenge? Join the Artist Hangout at TilaTheArtist.com!

#KickstartYourCreativity #DrawingChallenge #TilaTheArtist #LearnToDraw #ArtCommunity #PortraitDrawing

Day 28: Refining Features & Clothing in the Seated Portrait

So, you’ve got your seated figure sketched out… now what? Today, we bring it to life by refining facial features and tackling the tricky world of clothing folds!

First, let’s lock in those proportions. Are the eyes, nose, and mouth sitting naturally? Use light guidelines to double-check symmetry and make adjustments. When shading, focus on light and shadow—this is where the magic happens! Cross-hatching, blending, or even just a few subtle strokes can make features pop.

Now, let’s talk clothing. Ever wonder why some portraits look stiff while others feel natural? It’s all about the fabric! Clothing doesn’t just sit on a body—it moves with it. Observe how fabric folds at pressure points, like knees and elbows. Where does it stretch? Where does it bunch up? Use thicker lines for deep folds and lighter strokes for subtle creases.

The final step? Unify the drawing by adjusting contrast, softening edges, and adding highlights. Don’t overwork it—less is more!

What’s the hardest part about drawing fabric? Drop your thoughts below! 👇 And if you’re loving this challenge, don’t forget to like, comment, and follow for more!

📢 Join the Artist Hangout!Tilatheartist.com
🎨 Tag me on socials! → @TilaTheArtist

Day 27: How to Begin a Seated Portrait

Seated portraits can bring an incredible sense of depth and storytelling to your art. For Day 27 of Kickstart Your Creativity, we’re diving into the process of starting a seated figure by focusing on the shape of the body.

When beginning a seated portrait, simplicity is key. Start by observing the pose—are they leaning back with confidence, perched on the edge with energy, or relaxed in a reclined position? Use basic shapes to sketch out the form:

  • Head: A simple oval at the top of the structure.
  • Torso: Use a rectangle or elongated oval to represent the chest area.
  • Arms and Legs: Map these out with straight or curved lines for placement, adding cylinders for volume.

Proportions are everything. The seated pose changes the dynamics of the body, with the torso compressing slightly and the legs often bending at the knees. Lightly sketch a line for the spine to give the figure balance and flow. Add horizontal lines to indicate the shoulders and hips—the tilt of these lines will create natural movement in your pose.

Pro Tips:

  1. Keep it Loose: Your first sketch should be light and adjustable. Don’t focus on details just yet.
  2. Check Your Angles: Use reference images or even a mirror to study how the body shifts when sitting.
  3. Add Depth: Indicate the chair, stool, or surface your figure is seated on to anchor the pose.

🎨 Don’t forget to share your work with the community! Use #KickstartYourCreativity and tag @TilaTheArtist. Need help? Our Artist Hangout at www.TilaTheArtist.com is a great place to ask questions and get feedback.

Seated portraits tell stories—what will yours say?

Day 26: A Self-Portrait – Capturing Your Essence

Objective:
Draw a self-portrait that showcases your unique features, personality, and artistic style. This challenge is about embracing self-expression while practicing facial anatomy, proportions, and lighting.


Tasks:

1. Prep Your Workspace:

  • Set up a mirror or use a clear reference photo of yourself. Choose a well-lit space with a mix of shadows and highlights for depth.
  • Gather your favorite drawing tools, whether it’s pencils, charcoal, or digital media.

2. Begin with the Basics:

  • Sketch the shape of your head, focusing on proportion and symmetry. Use light strokes to map out where your eyes, nose, mouth, and ears will be.
  • Remember: no need for perfection here—focus on capturing the essence of your face.

3. Add Features with Precision:

  • Start detailing your facial features, one at a time. Pay close attention to their unique shapes and placements.
  • Observe subtle characteristics like the curve of your lips or the shape of your eyebrows.

4. Define the Structure:

  • Use shading to emphasize the planes of your face, such as cheekbones, jawline, and nose bridge.
  • Blend carefully to create smooth transitions between light and shadow for a three-dimensional effect.

5. Express Yourself:

  • Add a personal touch to your self-portrait, like including your favorite accessory, hairstyle, or even a subtle background element that represents you.

6. Final Touches:

  • Step back and assess your work. Refine any areas that need adjusting and add final details, such as highlights in the eyes or strands of hair.

Tips for Success:

  • Stay Relaxed: It’s your face, and no one knows it better than you! Enjoy the process of capturing your personality on paper.
  • Focus on Proportions: The face is roughly divided into thirds: from hairline to eyebrows, eyebrows to the base of the nose, and nose to chin.
  • Take Breaks: Step away from your work periodically to view it with fresh eyes.

Share Your Work:
Celebrate your artistic growth by posting your self-portrait in the Artist Hangout at www.TilaTheArtist.com. Be sure to tag @TilaTheArtist on social media and use #KickstartYourCreativity so we can cheer you on!

Day 25 Task: Drawing the Mouth

Challenge Theme: Kickstart Your Creativity – Faces Week!
Today’s focus is on drawing the mouth, a feature that brings emotion and personality to your portraits. Whether it’s a smile, a pout, or something in between, learning to draw the mouth will elevate your artwork to the next level!


Task for the Day:

Draw the mouth of your subject, be it yourself, a loved one, or an imagined character. Focus on shape, shading, and expression. Follow these steps for guidance:

  1. Start with the Basics:
    • Use a horizontal guideline to place the mouth and vertical markers for symmetry.
    • Sketch an elongated oval for the general shape.
  2. Define the Lips:
    • Add curves for the upper lip (Cupid’s bow) and a fuller lower lip. Keep proportions in mind to match the face.
    • Lightly outline the corners of the mouth and ensure they align naturally with the overall expression.
  3. Add Shading and Texture:
    • Use cross-hatching or smooth blending to add depth. Highlight areas that catch light, like the center of the lower lip, and deepen shadows along the edges.
    • Don’t forget the subtle line separating the lips!
  4. Experiment with Expressions:
    • Try a few variations: a slight smirk, a wide grin, or even a neutral closed-mouth pose. This will help you build confidence in depicting emotions.

Engagement and Call to Action:

Let’s make this interactive! Post your mouth sketches in the Artist Hangout Community at www.TilaTheArtist.com, and share your progress on social media. Tag me @TilaTheArtist and use #KickstartYourCreativity.

Feeling bold? Challenge yourself to draw a dramatic or exaggerated mouth. Think laughter, shouting, or even a cartoonish pout!

Day 24 Task: Drawing the Nose

Challenge Theme: Kickstart Your Creativity – Faces Week!
Today, we’re focusing on drawing the nose—an often tricky but super rewarding feature. Whether you’re aiming for realism or stylized art, mastering the nose is key to making your portraits pop.


Task for the Day:

Draw a nose that fits into the face you’ve been building. Pay close attention to its structure and how light interacts with the surface. Use these steps as a guide:

  1. Understand the Basics: A nose can be broken into simple shapes—start with a triangle or wedge to form the base structure.
  2. Add Key Features: Sketch the bridge, tip, and nostrils, keeping the proportions of your portrait in mind.
  3. Focus on Shadows and Highlights: Use shading to add depth. Remember, the shadows under the nose and the highlights on the bridge create dimension.
  4. Practice Different Angles: Try drawing a nose from the front, side, and 3/4 view to build versatility.

Feeling adventurous? Experiment with unique nose shapes to reflect personality or style!


Encouragement:

The nose can be challenging, but don’t overthink it! Think of it as a sculptural element, with subtle curves and lines that bring your face drawing to life. Remember, every artist starts with a wobbly line before mastering the craft.


Call to Action:

Share your nose sketches in the Artist Hangout Community at www.TilaTheArtist.com. Don’t forget to tag me @TilaTheArtist and use the hashtag #KickstartYourCreativity. I want to see those noses—seriously, let’s give them the attention they deserve!

Mastering Eyes: A Step-by-Step Guide

Eyes—they’re not just the focal point of a face but often the key to expressing emotion in art. But let’s be honest, drawing eyes can be downright scary. That’s why, on Day 23 of the Kickstart Your Creativity Challenge, we’re breaking it down step-by-step. Whether you’re a beginner or refining your skills, this guide is for YOU.

Step 1: Understanding Basic Eye Anatomy

The human eye is a marvel of nature, but drawing it doesn’t have to be complicated. Start with the basics: the almond-shaped outline, the circular iris, and the all-important highlights.

Step 2: Adding Expression

Eyes convey mood. Are they surprised? Sad? Joyful? Adjust the position of the lids and the size of the pupils to show emotion.

Step 3: Shading for Depth

Shading is where the magic happens. Use light pressure to shade the sclera (the white part) and build up darker tones for shadows around the eyelids.

Step 4: Bringing It to Life

Highlights make all the difference. Use a sharp eraser or white gel pen to add those pops of light to the iris and tear duct.

Conclusion & Call to Action

Drawing eyes is a journey, not a race. Celebrate your progress, no matter how small. Don’t forget to share your work on Instagram or TikTok and tag @TilaTheArtist—we want to celebrate with you!

Want more tips, exclusive tutorials, and a supportive art community? Visit www.TilaTheArtist.com homepage and join the free artist hangout today! Let’s create something extraordinary together.

Start Strong: Unlocking the Art of Head Shapes in Portraits

Why the Head Shape Is Key
Imagine building a house without a foundation. Sounds messy, right? That’s exactly what happens when you skip mastering the head shape in portrait drawing. It’s the anchor for every feature—the silent hero that makes your art feel balanced, intentional, and oh-so satisfying.

How to Nail It (Without Losing Your Cool):

  1. Sketch a Light Oval: Keep it simple. This is your starting point, not the final form.
  2. Add Guide Lines: A vertical line down the center and a horizontal one for the eyes. These lines are your GPS for facial proportions.
  3. Make It Personal: Adjust the jawline, tilt the head, or add a dynamic angle to bring character to life.

Challenge Alert 🚨
Draw someone you love or admire. Not only does this make the process more meaningful, but it also gives your portrait extra depth. Bonus points if you post your progress and tag me—I’d love to feature your work!

Tomorrow’s Sneak Peek:
We’re diving into eyes—the features that bring portraits to life. Curious how to make them pop? Tune in for the secrets tomorrow. And if you found this helpful, share it with a friend who’s ready to level up their art!

The Art of Perspective: Conquering Stairs on Day 21

Drawing stairs is a rite of passage for artists exploring perspective and depth. Stairs aren’t just functional—they’re an invitation to create dynamic, visually engaging artwork. For Day 21 of our art challenge, we’re stepping up our skills by mastering the intricacies of staircase drawing.

Step-by-Step Guide to Drawing Stairs:

  1. Start with the Structure: Use light pencil lines to sketch the overall shape. If you’re working with a straight staircase, establish a vanishing point on the horizon line. For spirals, focus on the curve and center axis.
  2. Break It Down: Draw each step carefully, keeping angles consistent. Use a ruler for precision.
  3. Incorporate Texture: Wooden planks? Smooth marble? Add textures to bring your stairs to life.
  4. Focus on Light: Decide on your light source and shade accordingly. The undersides of steps will be darker, while the edges catch the light.
  5. Add Details: Railings, cracks, shadows, and even surrounding elements like plants or furniture make your scene more immersive.

Why This Challenge Matters:
Perspective drawing is fundamental for creating realistic, 3D scenes. Staircases are particularly challenging because they require careful attention to angles, symmetry, and proportions. This task pushes your skills and helps you see spaces differently.

Call to Action:
🎨 We’d love to see your staircase drawings! Share your work with us on Instagram and TikTok using #TilaTheArtist. Visit Tilatheartist.com for more tutorials, challenges, and community resources. Let’s step up our art game together!