 Written by
 Seated portraits can bring an incredible sense of depth and storytelling to your art. For Day 27 of Kickstart Your Creativity, we’re diving into the process of starting a seated figure by focusing on the shape of the body.
When beginning a seated portrait, simplicity is key. Start by observing the pose—are they leaning back with confidence, perched on the edge with energy, or relaxed in a reclined position? Use basic shapes to sketch out the form:
- Head: A simple oval at the top of the structure.
- Torso: Use a rectangle or elongated oval to represent the chest area.
- Arms and Legs: Map these out with straight or curved lines for placement, adding cylinders for volume.
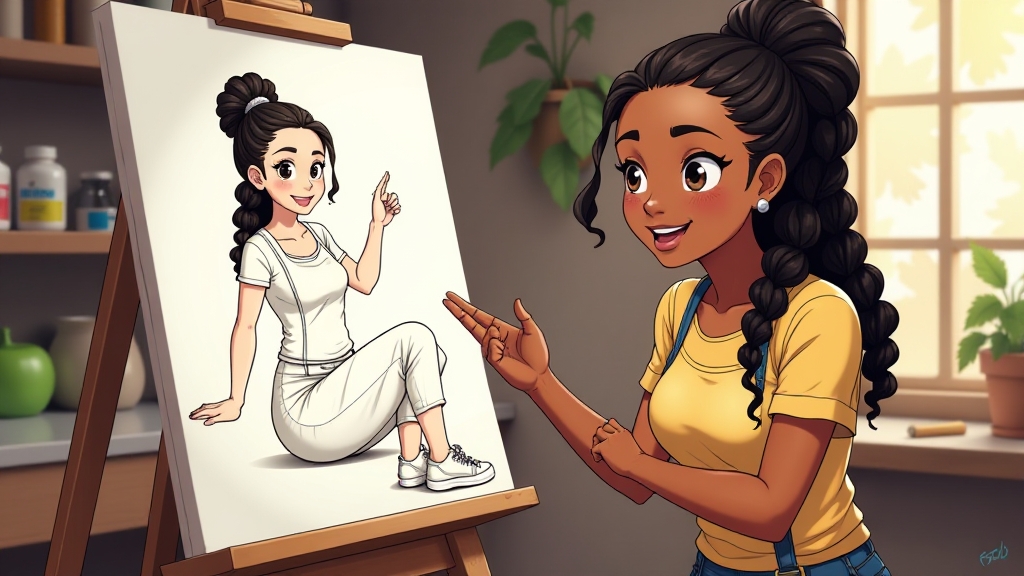
Proportions are everything. The seated pose changes the dynamics of the body, with the torso compressing slightly and the legs often bending at the knees. Lightly sketch a line for the spine to give the figure balance and flow. Add horizontal lines to indicate the shoulders and hips—the tilt of these lines will create natural movement in your pose.
Pro Tips:
- Keep it Loose: Your first sketch should be light and adjustable. Don’t focus on details just yet.
- Check Your Angles: Use reference images or even a mirror to study how the body shifts when sitting.
- Add Depth: Indicate the chair, stool, or surface your figure is seated on to anchor the pose.
🎨 Don’t forget to share your work with the community! Use #KickstartYourCreativity and tag @TilaTheArtist. Need help? Our Artist Hangout at www.TilaTheArtist.com is a great place to ask questions and get feedback.
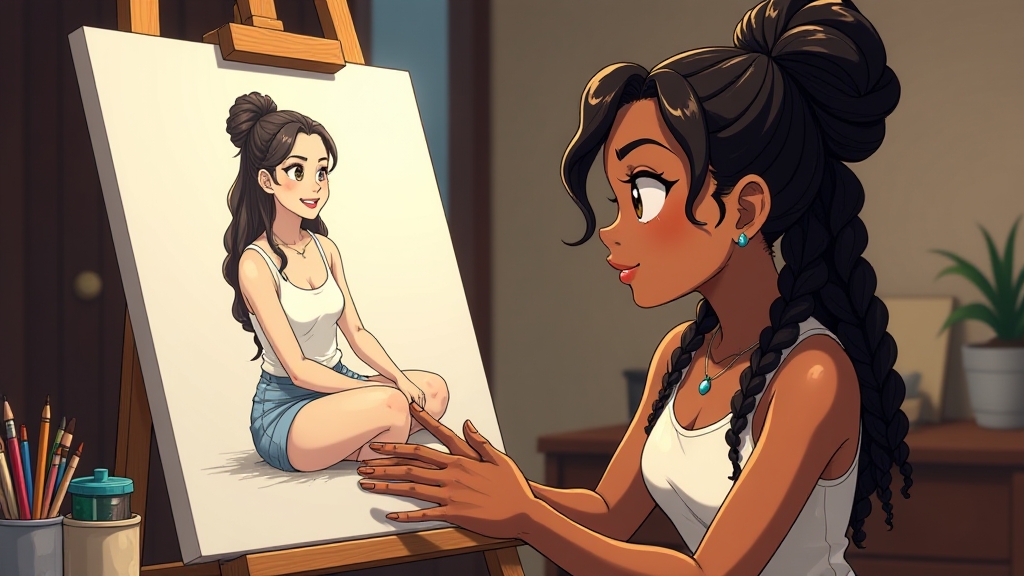
Seated portraits tell stories—what will yours say?